Desertcart purchases this item on your behalf and handles shipping, customs, and support to South Korea.
✨ Elevate your floors, elevate your space — no hassle, all style!
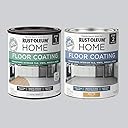
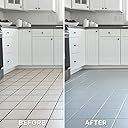
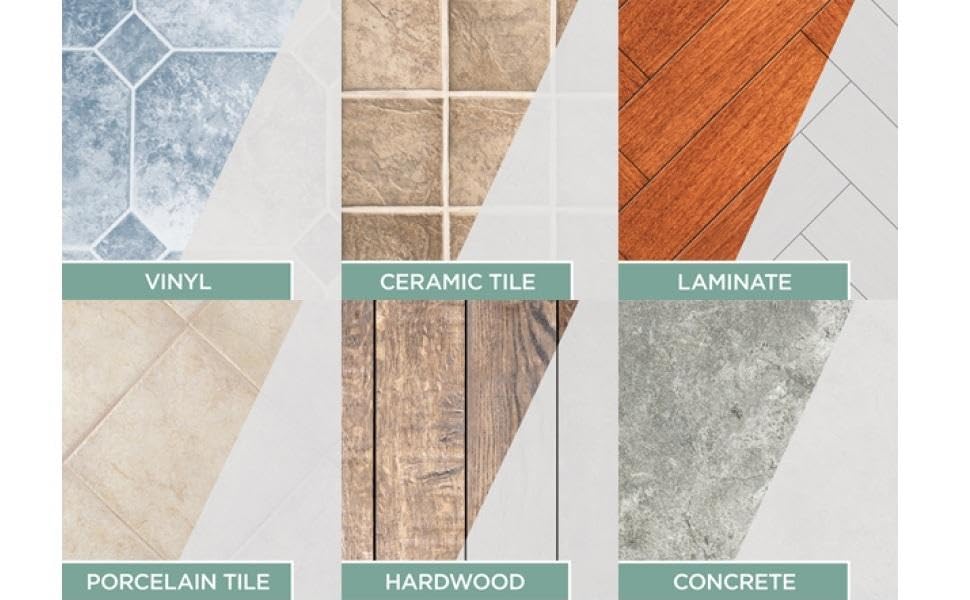
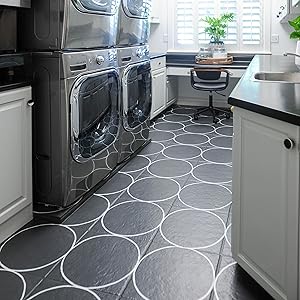
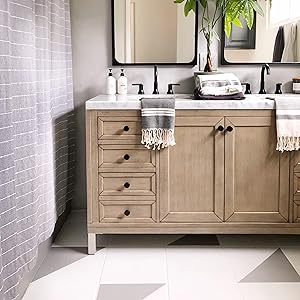
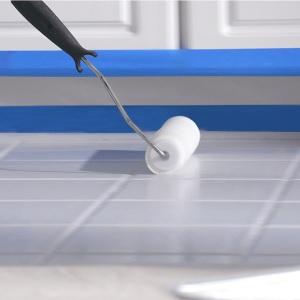
Rust-Oleum Home Interior Floor Matte Pearl Gray Coating Kit offers a fast-drying, water-based two-part system that adheres to multiple flooring types without sanding or priming. Covering up to 100 sq. ft., it delivers a durable, matte pearl gray finish that’s ready for light foot traffic in 24 hours, making it the smart, stylish choice for affordable floor makeovers.


| ASIN | B08L6SDS89 |
| Age Range Description | Adult |
| Best Sellers Rank | #11,272 in Tools & Home Improvement ( See Top 100 in Tools & Home Improvement ) #27 in Interior & Exterior House Paint |
| Brand | Rust-Oleum Home |
| Brand Name | Rust-Oleum Home |
| Color | Pearl Gray |
| Color Code | #CFCFC4 |
| Container Type | Pail |
| Coverage | 100 |
| Customer Reviews | 4.3 out of 5 stars 781 Reviews |
| Dry Time In Hours | 24 |
| Finish Type | Matte |
| Full Cure Time | 24 hours |
| Included Components | Base Coat, Top Coat |
| Indoor Outdoor Usage | Indoor |
| Is Waterproof | False |
| Item Form | Liquid |
| Item Volume | 500 ml |
| Item Weight | 5.5 pounds |
| Manufacturer | Rust-Oleum |
| Model Number | 367593 |
| Paint Type | Acrylic |
| Part Number | 367593 |
| Size | 63.96 Fl Oz (Pack of 1) |
| Special Feature | Fast-Drying |
| Special Features | Fast-Drying |
| Specific Uses For Product | Interior |
| Surface Recommendation | Ceramic,Porcelain,Vinyl |
| UPC | 020066489595 |
| Unit Count | 63.96 Fluid Ounces |
| Water Resistance Level | Waterproof |
K**A
Love this!! Pearl gray/Greige
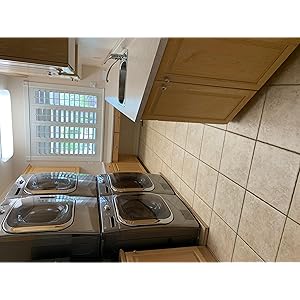
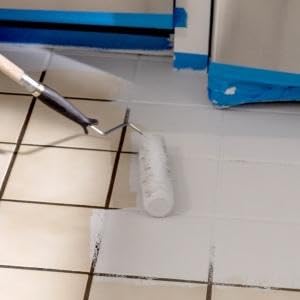
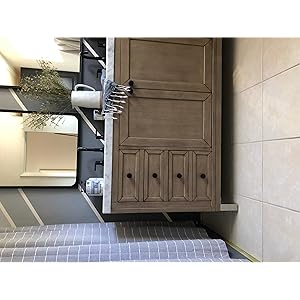
I started with pearl gray and ended up doing greige instead so I posted pictures of both. When we bought our house I knew the reddish brown tile in the downstairs bathroom would have to be painted. I wasn't sure how to go about this as I did not realize there was actually floor paint! Finding this item was a huge relief. I originally used pearl gray. The transformation was incredible but unfortunately I didn't like it. The color was really nice but the teal in the walls made it sometimes look like a powdery baby blue that I didn't like. I let it sit for the week to completely cure and then covered it with greige. The greige is exactly what I was wanting!! I love the results! This process was incredibly easy. I cleaned the floor with Krud Kutter and taped off all edges and the toilet. This was the most time consuming part of all of this. I used a folded up towel to kneel on while I painted. This kept me close to the ground so I could see any hair or debris (I have 3 cats!) that needed swept away so it didn't get in the wet paint. I used a small roller (for the edges too) and it worked perfectly. I used 2 coats for the color. One is probably doable but I didn't want to put it on too thick and mess up the drying process. The top coat is very watery which is nice because it covers and levels well and provides a really nice finish. This was a fun project and definitely possible to do on a weekend. Just pay attention to your dry times! I highly recommend!!
L**E
Love this product
I painted my tile floor 4 years ago in my kitchen. This product has held up beautifully. When I had a scratch from moving the oven and my refrigerator. I repainted the squares with the scratches, and it blended perfectly. I put three coats of step two. Dries overnight, applies easily, and is odorless.
C**Y
Love it!
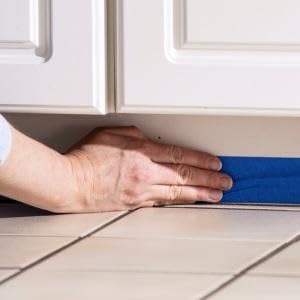
Here are my FYI’s after doing this "brave" project on linoleum in a bathroom: Used the Frog Tape for taping off trim, etc. It took from Saturday-Tuesday just for drying all the coats and removing tape/touch-up below. I waited 1 full week before carefully moving furniture/décor items back. Used 1 qt can for 51 sf, 3 coats color and 2 coats clear, with some left over for touch-up. I put on the same clean socks on before going in after each application. I left the lights on to make it warmer, closed the door and refrained from using an oscillating fan in fear of it kicking up dust, etc. Used a 3” foam brush to cut in edges and other odd spots. When applying the edge paint, it will seem ‘thin’ and won’t seem to cover. Rest assured it will begin to cover as more layers are applied. It’s good to have paper towel and spray cleaner on hand to wipe the little oopsies while painting. However, paint oopsies can be removed after the fact with a cotton swab and acetone, just don’t get the swab soaking wet so it doesn’t drip. It may take multiple swabs depending on the amount of paint to be cleaned up. The clear coat will make the black paint appear blue and milky during application/while wet, but don’t worry, it will look black again once it dries. I’m not sure how other colors are affected by the topcoat application. Reminds me of Elmer’s glue, especially when you get it on your hands. Keep any brushes/rollers with your paint color wrapped tightly and separately in plastic shopping bags until you are completely done with the project. Why? In case you have to go back and touch-up during/after the topcoat application. After my first topcoat (as other reviewers have mentioned) some things may come to the surface. I gently removed them, then used my saved black foam brush to touch up those spots and 3 hrs later, I touched them up again. They will appear darker until fully dry. Then 3 hrs later I went back over with another coat. 24 hrs later I did another topcoat. I left the tape up while applying the top/clear coat. I ended up using a small utility knife to force cut the seal of the tape to avoid extra pulling 24 hrs after the 2nd topcoat was dry. If an area of tape is being difficult to remove even after cutting, I found placing a finger or something on the floor near trim while removing tape may reduce some over-pull. Although, I did have to go back and touch-up some spots using a very small artist-like brush (I used the brushes from my Latisse prescription, waste not, want not). While the topcoat I used was ‘matte’, it does have a very minor sheen to it when dry, which I do like how it turned out! Time and 3 teenagers will determine how well it holds up! Update: white spots may appear if water lands on floor (at least with black paint), try to wipe it up but it will go back to black once dry. I also invested in a floor lint roller to gently clean up floor. I have not had to do other cleaning yet.
C**B
Great quality
I love this floor paint - it adheres really well to vinyl and seems to hold up well! It is an easy process, I ended rolling the majority of my floor -
D**W
Transform your space easily
This project transformed our bathroom at a low cost and easy skill level. Our first attempt we followed the instructions to a T. We applied 2 coats of base paint since the 1st coat didn't fully cover (typical for a drastic color change). The topcoat instructions recommend 1 coat of topcoat and says apply additional coats for added durability if desired. We decided to apply a 2nd coat which dried quite cloudy and milky (after 3 days). I called Rustoleum and they advised to lightly sand and start over. Not ideal, but we did. This time we only needed 1 coat of base paint. We then applied 1 coat of topcoat. Only one tile dried a bit milky. So for the darker colors I would recommend only 1 coat of topcoat. Definitely get quality brushes and rollers (we used Purdy) and make sure everything is feathered out nicely. Pulling up tape will be stubborn so I cut the base of it with an exacto before pulling to avoid pulling any paint up. TBD on long term durability. Overall, I would recommend to a friend. The final photo has some foot prints from walking on it with bare feet.
F**.
Was better for me than replacing the tile. High touch finish.
This worked exceptionally well for my basement tile and was a much better option than replacing the tile. The black matte looks wonderful paired with the dove white paint I used for the walls. Actually looks relatively high end vs. a painted floor. In other words, looks intentionally nice not like a short cut. Just be sure to prepare the floor according to instructions. I used too coats of paint and topcoat. It's been 2 years and very glad I didn't replace the tile. I do think it will scuff and scratch if items are dragged across it, so don't do that. The coverage was just as expected and the odor was not overpowering at all.
J**E
Utter Garbage Product
This product is utter garbage. I followed all instructions and worked to create a beautiful floor. Had high hopes, but one month later it is already starting to show signs of damage. The paint is not staying. Do not invest in their lies. It does not last.
A**R
Love it!
Goes on nicely. Really like the color. Used 2 coats of the top coat. Only wished I didn't get a matte color, as water temporarily leaves a water spot, but goes away as it dries. But still highly recommend it.
O**A
Don't buy!!!!! Waste of money! Will ruin your floor
I ruined my kitchen floors with this. Hard to wash, chips , absolutely waste of money but I can not even undo it! My floor is a mes ever since! The customer service did a half refund. Haha. You know much would it take to demolish floors after this .... Hope this helps someone. I red only good reviews. Apparently it is a marketing campaign and that's it.
J**H
Beautiful product easy to apply
Really easy to apply! You have two coats of paint to apply To really cover well the tiles and then the glue like protecter that makes it stick to the tile properly!!! The can is small but really covers a large area Oh and once you apply the Glue It doesn’t create a glossy look on the tiles.
Q**.
Fácil de aplicar.
Se aplica fácilmente! Es mate.
Trustpilot
1 day ago
5 days ago