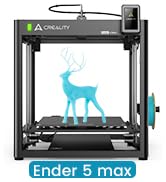
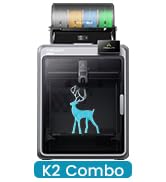
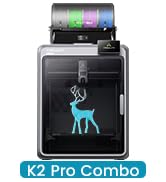
Description
🤖 Print Smarter, Faster, Bigger — Join the 3D Printing Revolution!
- MASSIVE BUILD FREEDOM - Print large, complex models effortlessly with an expansive 11.81x11.81x11.81 inch build volume.
- HANDS FREE AUTO LEVELING - Dual strain sensors auto-level the bed precisely—no manual calibration needed, saving you time and hassle.
- LIGHTNING FAST PRECISION - Experience blazing 600mm/s print speeds with 20,000mm/s² acceleration—12x faster than standard printers.
- AI POWERED QUALITY CONTROL - Smart AI Lidar scans every first layer and camera detects print failures in real-time to ensure flawless results.
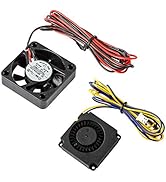
- ROCK SOLID STABILITY COOLING - Core XY structure plus directional and auxiliary fans guarantee stable prints and optimal cooling for professional-grade finishes.
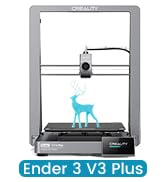
The Creality K1 Max is a cutting-edge 3D printer featuring an AI-powered Lidar and camera system for real-time print monitoring, ultra-fast 600mm/s printing speed with 20,000mm/s² acceleration, and a large 11.81-inch cubic build volume. Its Core XY structure ensures stable, precise printing, while dual hands-free auto leveling and advanced cooling systems deliver professional-quality models with minimal user intervention.