🚀 Elevate Your Prototyping Game!
The FLASHFORGE Adventurer 5M 3D Printer combines cutting-edge technology with user-friendly features, including automatic bed leveling, ultra-fast printing speeds, and remote monitoring capabilities. With a robust all-metal structure and versatile material compatibility, this printer is designed for both rapid prototyping and mass production, making it an essential tool for modern creators.
Color | Adventurer 5M |
Enclosure Material | PLA/ABS/PETG/TPU/PLA-CF/PETG-CF (PC/ASA enclosed enclosure needed) |
Printing Technology | FDM |
Compatible Material | PLA/ABS/PETG/TPU/PLA-CF/PETG-CF (PC/ASA enclosed enclosure needed) |
Voltage | 110 Volts |
Connectivity Technology | Wi-Fi/USB/Ethernet/Mobile App |
Operating System | Mac OS 10.9+, Win7/8/10/11, Linux Ubuntu 20.04+ |
Compatible Devices | Mobile App |
File Format | Input:3MF/ STL / OBJ/FPP/BMP/PNG/JPG/JPEG , Output:GX/G |
Item Weight | 23.8 Pounds |
Item Dimensions D x W x H | 15.83"D x 14.29"W x 17.64"H |
B**C
Went from knowing nothing about 3D Printing to advanced mini printing and assembly in a day.
I had never been super interested in 3D Printing as I had no real use for it, and so never looked in to how any of it worked or how things were supposed to be set up. As I started getting more and more in to DIY tech stuff where the standard is 3D printed parts for assembly, as well as wanting to do more Wargaming stuff than I could reasonably afford, I decided to finally jump at getting a 3D Printer that was geared towards new users that have all the basic bells and whistles to minimize potential set up issues and any health hazards from having the thing set up in my bedroom, and the Flashforge 5M Pro was what I settled on. Worst case scenario, I could get the few things I needed then sell it to a friend who could use it more than i can so I'm not completely out $450.All that said to stress that I am a complete beginner and learned from knowing literally nothing as I set this thing up.Set-up was easy. Unbox it, follow the instructions to remove all packing and accessories then un-screw the bed. Turn it on and connect it to your WiFi network. Get the mobile app (which sucks) for your phone and Flashforge Orca for your desktop (which sucks less). Send the printer through its self calibration once it's set where you want to keep it. Put the filament spool on the holder, feed it through the tube following the on-screen instructions and let the system prime the filament load (mine spat out a bunch of red filament from the factory QA testing before priming the included sample). Then, update the Printer's firmware (this is important as the app and Orca will not be able to connect and control the printer without this step). Then, print the calibration cube. Then, print the Benchy. For me, there were absolutely no issues. Set up went without a hitch, calibration and benchmark prints went great, and the printer was ready for use after that.I grabbed some Official Battleshovel 39,999 stls to test how well things printed minis and figure out setting up support structures and managing print settings and then I went on to Cults3D and grabbed some cheap models of stuff I really liked from some creators and spent a couple days printing some cool stuff at higher resolution and refining my settings.Bed leveling before each print took a couple extra minutes but I've yet to have a failed print, the tip and bed both heat up to go mode really quickly, the size of the bed is great for pretty much anything I can think of short of full-sized multi-day prints of cosplay gear, print durability is as good as your settings are, this printer will do what you tell it to do without fuss, and the design of the printer is great. Sleek, enclosed, the internal ventilation is really nice to have, and the top and front clear doors are great for keeping an eye on things and getting in to the enclosure when needed.Noise is quieter than I thought it'd be. Don't get me wrong if you're light sleeper maybe consider having this away from your bedroom, but it's just white noise in the background for me and easily ignoreable if you're used to the sounds of electronics.My only real complaint that is barely even a complaint since it's just nitpicking about a feature that really doesn't need to be there is the camera is extremely low quality and struggles to stay connected to any app that uses it, but it does still work and lets me peak at the print when i'm away.All in all I was shocked at how easy it was to get this thing in to working order and learn enough to start just blowing through filament making stuff for the projects I've been putting off until I could either order parts from a 3d printing company or get a friend to do it for me. Again, I knew absolutely nothing about how any of this worked prior to getting this thing.If you're a beginner looking for your first printer, this is an option I can't recommend enough.
M**E
Great printer, great value. TLDR This thing is amazing for the money.
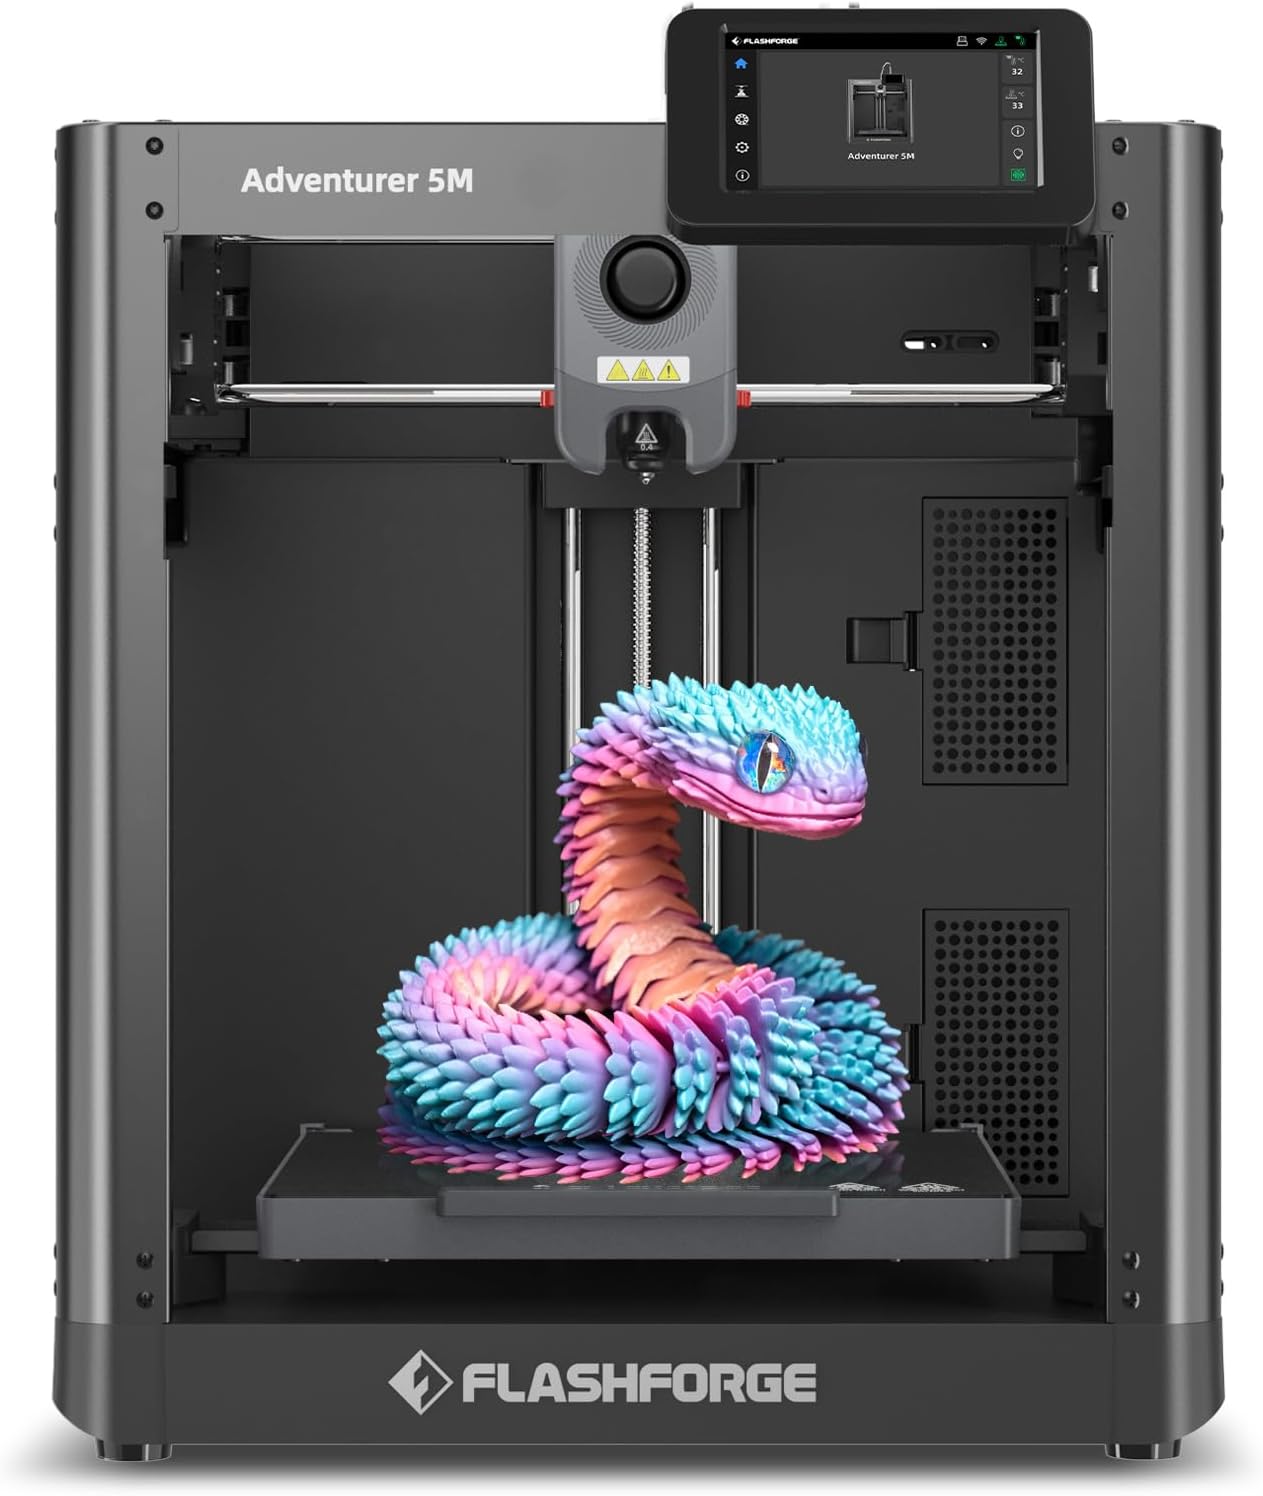
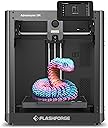
I run a small business and had been using two printers: an Elegoo resin printer (fantastic printer) for prototypes, and an Creality Ender 3 S1 (below average experience) for tools and fittings. The Adventurer 5M was added to the stable in a fit of rage and desperation incrimentally fueled daily by the Ender 3 S1. This is a review for the Adventurer, but I need to share the behavior I'd been accustomed to from my eldest workhorse, context is important.I acquired the Ender 3 new in box at the end of November 2024. The first, second, third, and fourth things it produced were various sized nests of knotted filament. The plate had no adhesion to speak of, the self leveling feature...didn't, the physical distance the nozzle was from the print bed seemed to have little concern for the numbers indicating the Z-offset. I just figured it was my own inexperience and ineptitude preventing the machine from doing it's best work. Over a time span of roughly 3 months, countless instructional videos step by step articles helped me to triangulate an almost acceptable, almost reliable combination of settings, adjustments, and physical add-ons that would allow the printer to do it's job, most of the time. The best thing about the Creality product, is that it forced me into a level of competence I never would have attained with a reliable printer. It's a lot like owning a cheap Ford: It's just barely good enough to be called a car.Since the Ender 3 was my first foray into 3d printing, I just assumed that's just how printers are: Frustratingly sensitive to EVERYTHING. A few days ago I realized the errors I was dealing with were repeating frequently enough that I knew how to counter most of the behaviors before the wheels came off (The adjustment knobs literally came off 18 hours into a rather large print last month).After steadily escalating jaw clenching frustration was no longer tenable, I tried resetting it to factory spec...which it wouldn't do, it just beeped at me like a petulent child. Fine, I thought, I'll update the firmware. A word to the anyone considering purchasing a Creality product: I would recommend against it. The firmware update process ignores the fact that most people don't wish disassemble their machine to access a port that Creality decided shouldn't be on the OUTSIDE of the machine. Also, the old addage "Keep is Simple, Stupid" isn't terribly popular in that part of China. So, after doing my best to decode the cryptic instructions that later became clear, I loaded the update onto the SD card that came with the printer (which required the card to be reformatted for some reason) and followed the instructions in the helpful readme file. The read me file was one of FIVE files included in the download. I soon discovered that you need to load only ONE of those files to upgrade the control board's firmware. The instructions were originally in Chinese and obviously passed through Google translate a few times to ensure adequate user confusion. The result? My Ender 3 S1 is now a brick.I could feel the veins in my forehead pulsing as I pulled up Amazon. I ordered the Adventurer in an act that I can only describe as "rage quitting" Creality products, never to look back.Boy am I glad I did. The new printer arrived this morning. Well played to the distributor, that was a turn around of less than 12 hours. After some minor assembly and a few downloads, the Adventurer roared to life with a happy little tune.With zero adjustments, no tuning required, no bed leveling, and no drama, the thing just works perfectly. I printed the included benchmark models one after the other with none of the abrasive behaviors Creality built into their "good enough" S1. I then switched the filament to PETG and began running calibration models. Again, perfect performance and holy cow it's fast.It's not a quiet printer, I wouldn't recemmend locating it near a sleeping child, but that's really no concern to me. I'm very pleased with my purchase.
Trustpilot
1 week ago
4 days ago