Description
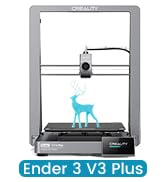
🖨️ Elevate your maker game with the Ender 3 V2 — where precision meets peace and power!
- RAPID HEAT UP SAFETY - UL certified branded power supply ensures quick bed heating and stable long prints, all while keeping your setup safe and sleek.
- WHISPER QUIET PRECISION - Experience near-silent operation with Creality’s self-developed silent motherboard, perfect for focused workspaces and late-night creativity.
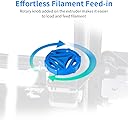
- EFFORTLESS FILAMENT HANDLING - Rotary knob extruder design makes loading and feeding filament a breeze—spend less time prepping and more time creating.
- FLAWLESS FIRST LAYERS EVERY TIME - Carborundum glass platform heats up faster and guarantees superior adhesion, eliminating warping and boosting print quality from the start.
- RESUME PRINTING NO MORE WASTED TIME - Power outage? No problem. Resume printing from the last position and save your projects from unexpected interruptions.
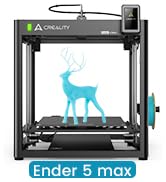
The Official Creality Ender 3 V2 is a professional-grade DIY 3D printer featuring a silent motherboard for low-noise operation, a UL certified branded power supply for fast and safe heating, and a carborundum glass platform that ensures superior print adhesion and smooth first layers. With an 8.66x8.66x9.84 inch build volume and a resume printing function, it’s designed for reliable, high-quality prints that fit perfectly into any creative or professional workspace.